April 2014
Instrument Panel – April 2014.
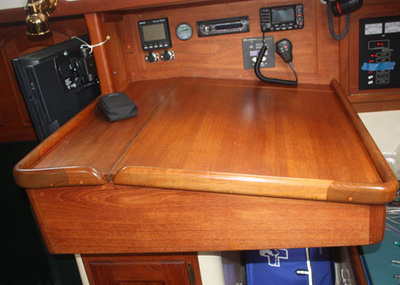
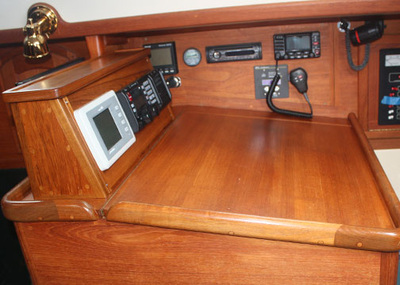
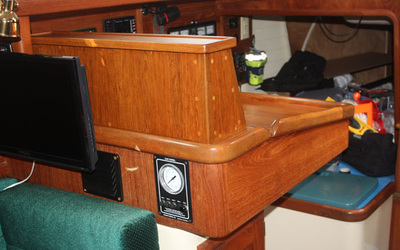
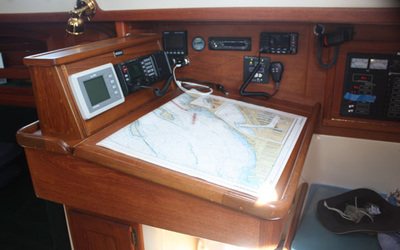
I wanted to mount the AIS and SSB on top of the chart table due to space limitations in the starboard electronics panel. I could have just mounted them on the top of the table with the supplied brackets, but I thought it would look cleaner, keep the wires under control and protect the equipment a little better to create this panel.
Luckily, I had some teak left over from some past projects so the outlay for the project was $7 for some teak finger pulls used for a pass through for the wires. Otherwise, it was all labor over a couple of weekends and weeknights.
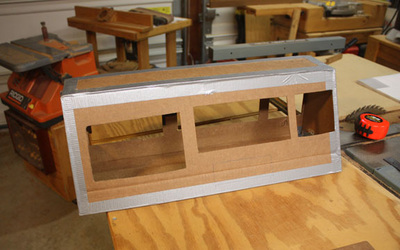
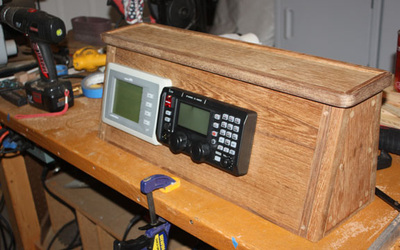
I began with a cardboard mockup to see if the overall size would work. I decided on slanting the front panel, mostly for aesthetics. Once I was satisfied, I started on building the case with teak plywood and solid wood corner pieces. Construction was pretty straight forward; however, the slant of the front panel slowed the construction considerably to ensure everything lined up appropriately. I didn’t go for a specific angle but it turned out to be 73.3 degrees. I only mention this because last year I had bought a Wixie electronic angle gauge, which made repeat angle cuts very easy. This little 2 inch square box has magnets on the bottom which allows it to attach directly to the saw blade. First, you set it on the table saw bed and hit the zeroize button, and then you simply attach it to the blade and dial down the blade angle until you hit the desired angle. It reads accurately and repeatedly down to tenths of a degree. Resetting the blade back to 90 degrees is just as quick - super easy, fast and accurate every time. In the past I played around with manual angle gauges and squares, which worked fine but not nearly as quickly or as accurately.
I used ½” teak plywood for the back and sides. For the top and front I used 1/8” teak plywood glued, like veneer, to some 3/8” marine plywood. I made some teak corner pieces from some 1 ½” thick solid teak, to which I glued, screwed and plugged the plywood sides, in order to match the existing joiner work of the chart table. The front panel was edged with solid teak strips and then secured in place with four screws to allow for easy removal. The top was edged with solid teak molding made on the table saw and mitered and then glued.
Lastly, the base was cut from a piece of 1” thick oak since it cannot be seen and is substantially cheaper than teak. The base was then screwed directly to the top of the chart table top, securing the cabinet in place. The SSB receiver unit is secured inside the chart table (under the cabinet) with the cables routed up through a hole to the control head in the cabinet.

