Nov. 2012 - Aug 2014
Blue Sky Monitor
Solar Panels - November 2012
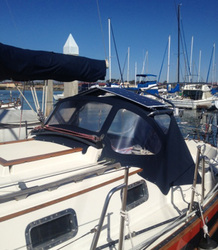
I began by looking at where I can mount panels that will not interfere with sail handling or make the boat look horrible. Both are not easy, and I wanted a minimum of 400 watts. I decided on three locations – on top of the dodger, on the bimini and mounted on the stern rails.
Dodger mounted panels: Nov 2012.
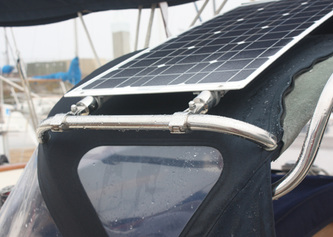
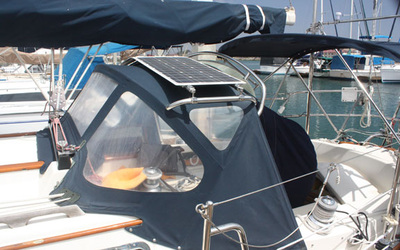
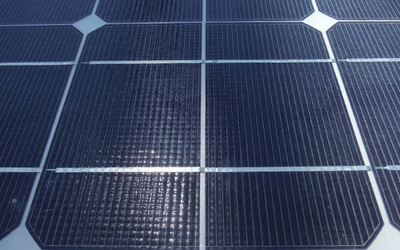
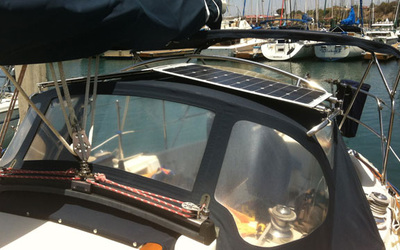
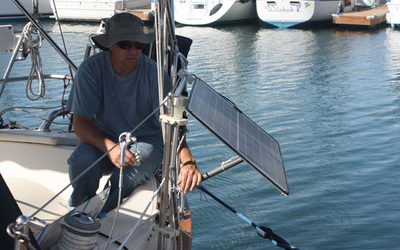
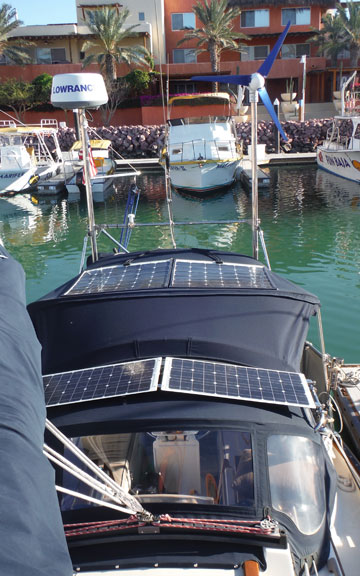
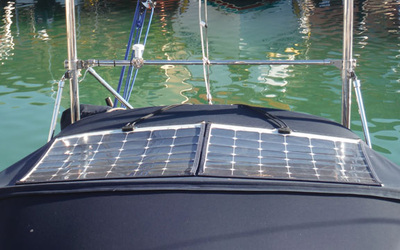
I am very limited to width over the dodger, but found some light, thin panels from Aurinco. I bought two 50w panels. I was going to mount them in a way that would match the curve of the dodger, but thought that would reduce the output too much as anything less than 90 degrees to the sun reduces output. I bought some 1 inch PVC pipe and made a temporary mount to attach the panels. It worked but showed me what I want to change when I make the permanent mount in stainless. Also, I will build the mount to be able to tilt towards the sun for better amp production. As it now sits in the slip, the starboard dodger panel is not exposed to the sun and is doing next to nothing for amp production.
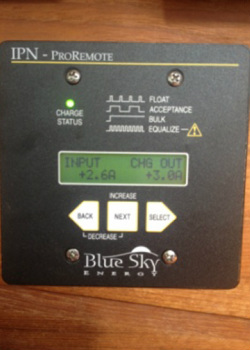
I spent a weekend adding the panels, the controller, circuit breakers, etc., and completed the install just as the sun dropped below the horizon. I flipped the circuit breaker, and the controller showed 0.0 amps. So much for instant gratification. The next day I snuck out of work during lunch to see if the system actually worked. I was happy to see 2.6 amps provided by the panels and 3.0 amps to the batteries – cool, it works.
Later, as I was playing with the settings, I noticed that the amp input was slowly going down until it was below an amp. Confounded, I went out on deck and saw that as the sun was climbing it moved to a point where my neighbor’s mast shadow was completely covering my panel.
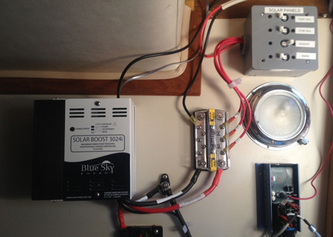
System Design: For obvious reasons I wanted maximum efficiency, and chose to go with a MPPT type solar charge controller. I also wanted redundancy if (when) the techno gizmo (magic box) failed. I didn’t want to lose my entire solar charging ability in the middle of the Pacific just because the charge controller died. So instead of one controller that could handle the entire solar charging system, I chose to go with two smaller controllers networked together which act as one. That way, if one controller fails I will still have half of my panels still working normally.
I went with the Blue Sky 3024i DOU in case I wanted to wire a wind generator to the system, but for the reasons above, I think I will run a third controller for the wind generator. The 3024 will control the dodger and rail mounted panels, and a Blue Sky 2512i will control the bimini panels. Blue Sky designed these controllers to be networked (single data cable connected between them), which makes them act as one unit. I wasn’t sure if it would be an issue or not, but I was concerned that two separate controllers might not play nicely together (ie: one senses the charge from the other and reduces amp input, etc). I also installed a Blue Sky IPN-ProRemote panel that allows me to tailor the charge profiles and monitor overall efficiency. The ProRemote also has the benefit of being a charge monitor, similar to a Link Pro, and comes with a shunt to be added to the ground side of the DC system.
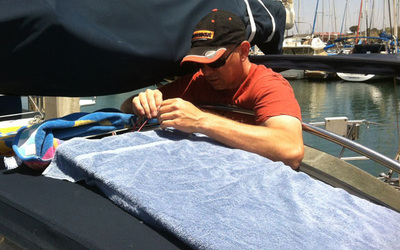
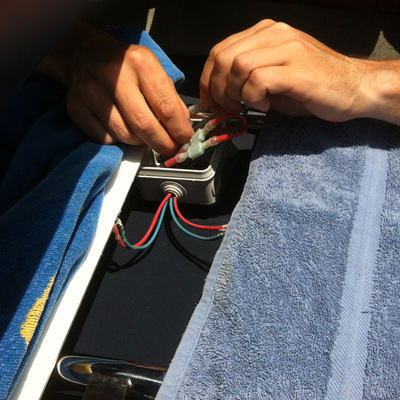
I could have wired the panels directly into the 3024/2512, but I wanted the ability to disconnect the panels if necessary. I planned on running each panel array (4 total – dodger, bimini, port rail, stbd rail), and wanted a circuit breaker panel to run them through. However, I quickly found out that even a small four circuit panel would run around $150. Since the panel would be tucked into the quarter berth, I didn’t need a fancy panel. So, I went to Home Depot and found a plastic electrical junction box with a solid plastic cover - $10. Then at West Marine I found 4 appropriately sized throw type circuit breakers - $60. I went home and after carefully laying out and marking the CBs, I drilled the necessary holes and viola – a $70 CB panel. Lastly, I added labels using a label maker and now I can easily turn the panels on or off.
From the CB panel, the individual panel arrays are then connected to a common bus bar and then to the MPPT controller. The bimini panels will go through the same CB panel, but will then go directly to the 2512 controller.
I tried to make the runs as clean as possible and labeled every wire for ease of identification later. So far, the system works as advertised, and my batteries are now kept topped up without plugging into shore power.
Bimini Mounted panels: I am still deciding on the best way to mount these but I plan on mounting two 50w Aurinco panels and one 100w panel.
Rail mounted panels: I want to be able to take these off quicky and stow them below if sea states picked up. I was afraid that boarding waves could damage the panels or the lifeline stanchions. I found some really lightweight, 50w, sturdy panels made by Ganz. These weigh about 5 lbs are really thin and can be easily maneuvered down below, if needed. I have yet to install them.
Wind generator: Still researching and deciding.
SUMMER 2014 UPDATE...
Dodger panels:
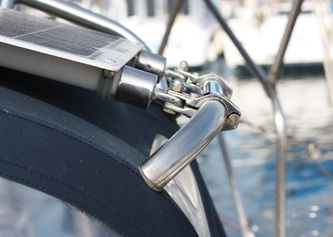
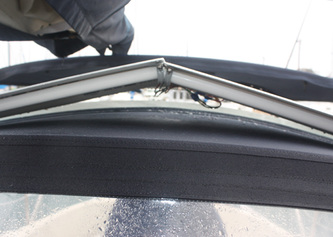
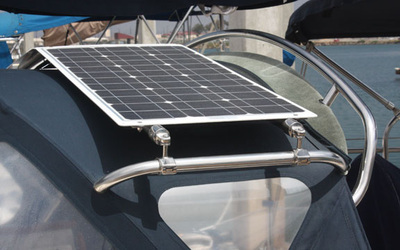
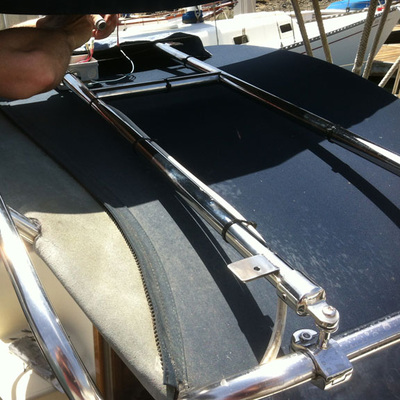
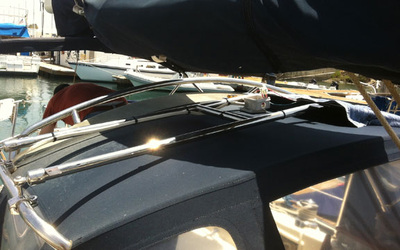
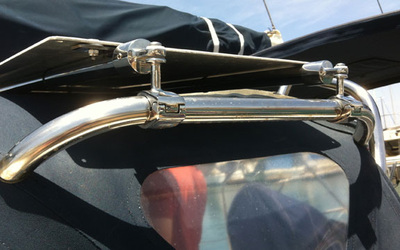
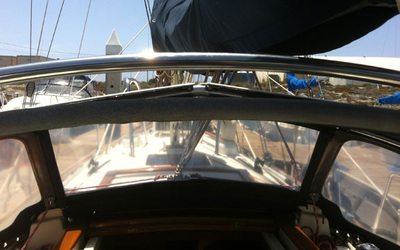
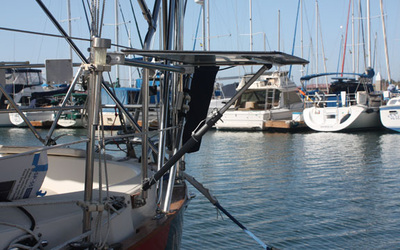
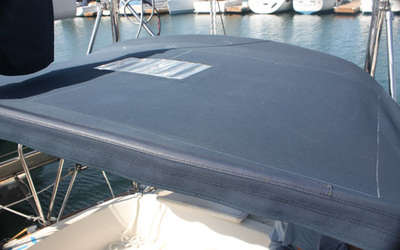
I decided after a year, that the design of the PVC frame for the dodger panels was going to work well. So, I replaced the temporary PVC frame with a sturdier and permanent stainless one. The PVC frame sat a little bit high on the dodger and was not very aesthetically pleasing, so I lowered the new stainless frame so that it sits about an inch over the dodger.
Once I determined the proper bend angle, I bent two 1” bows and then cut and fitted two cross bars for strength and rigidity. I then welded on stainless tabs to mount the panel, and a junction box for the wiring. I tacked it together, took it to the boat to make sure it was right, and then welded it all up and polished it. I used plastic washers between the stainless mounting tabs and the aluminum backing of the Aurinco panels to ensure no dissimilar metals made contact. The new frame is much stronger than the PVC one, sits lower (so I can see over it), and looks much better.
Rail mounted panels:
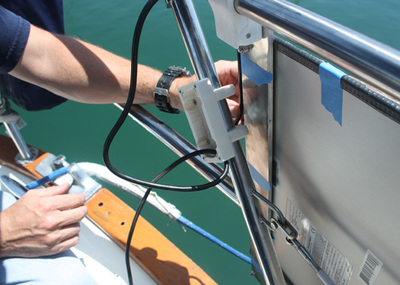
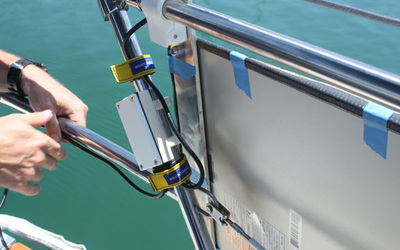
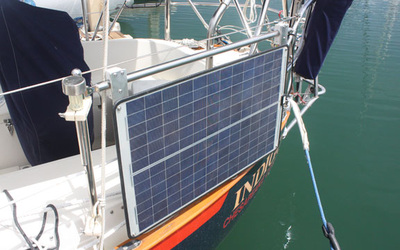
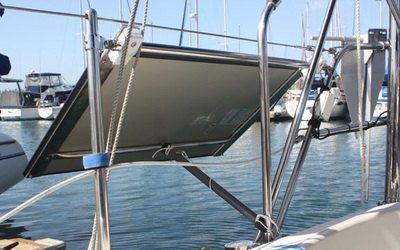
I wanted to install two 50 watt lightweight Ganz panels on the rail for a few more amps. However, I wanted to be able to tilt them down when I didn’t them to be ripped off, and I also wanted them to come off completely to be stowed down below for really bad weather. I initially wanted to make them articulate on 3 axis in order to better track the sun. This turned out to be way more complicated than I thought, and realized that it wasn’t worth the effort. How do you track the sun when the boat swings at anchor? Works great in the slip but not so well at anchor. Instead, I settled on two positions – flat horizontal and down about 45 degrees.
First, I bought some ¼” by 2 ½” aluminum stock for the frame. To articulate the panel, I bought some 1” adjustable starboard rail mounts. While picking up some metal for another project I came across some really thin walled ½” stainless tubing. I didn’t know what I would use it for at the time, but it was on clearance, and it turned out to be perfect for the cross bars on my panel frames. Also, I added stainless crossbars from the pulpit to the first stanchions on each side to mount the panels.
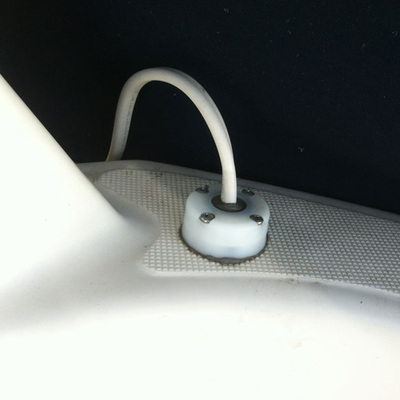
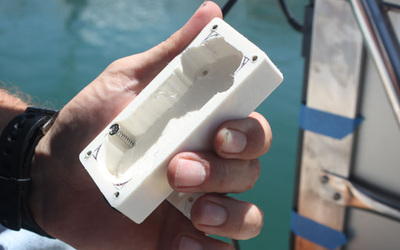
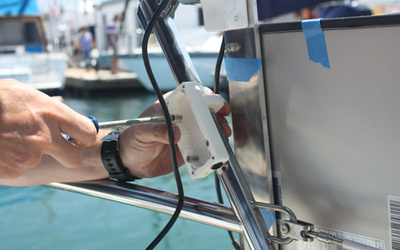
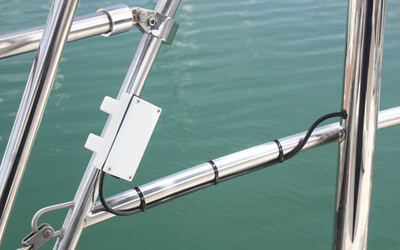
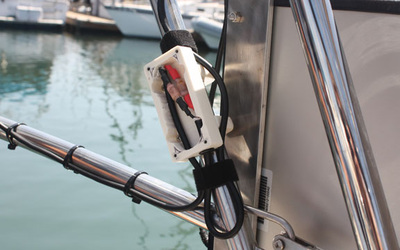
I was going to use some quick disconnect electrical connectors, but I couldn’t find what I really wanted. In the end, I made my own junction boxes out of ¾” Starboard (I routed out the inside, made tops out of ¼” Starboard, made gaskets out of 1/16” rubber material, and made Starboard U clamps to install it on the aft pulpit). The wires inside the junction box were capped with male/female quick disconnects, and filled with dielectric grease to (hopefully) stave off corrosion.
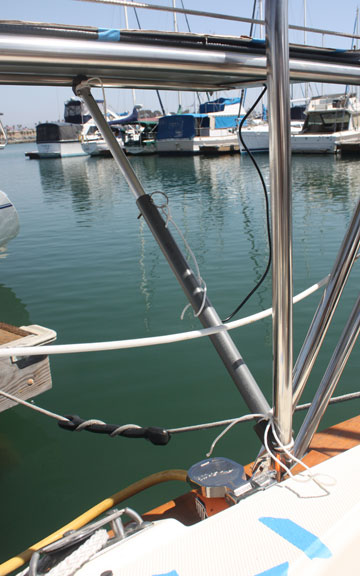
The last piece of the puzzle was how to hold the panels out when articulated horizontally. After some trial and error, I decided to make a manual strut. At Home Depot, I found some small diameter aluminum tubing that fit nicely inside a piece of gray PVC pipe. I made some end pieces out of Starboard to fit snuggly inside each end and then grooved it to fit around the panel cross tube and the boat stanchion.
The wiring was different for each panel. For the starboard side I ran the wires into the boat through the radar pole, and back to the existing junction box switch panel that I had made earlier, located inside the quarter berth. This panel is wired directly into the same Blue Sky 3024 controller used with the dodger panels. I was originally going to wire the port panel there as well, but I realized it was stupid to run the wires all the way from the port side to the starboard side, so that it can then be routed back to the port side where the batteries are. For that reason alone I added another small charge controller, a Genasun 5 amp MPPT controller, mounted it next to the battery bus, added a circuit breaker to turn it on and off, if desired, and wired it to the bus. I was initially worried that the two different charge controllers would battle each other, but that doesn’t seem to happen. I haven’t noticed any issues. The wires run from the junction box on the pulpit through the wind generator pole and then down to the controller.
Bimini panels:
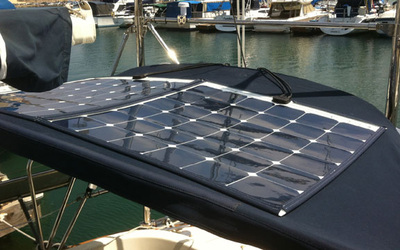
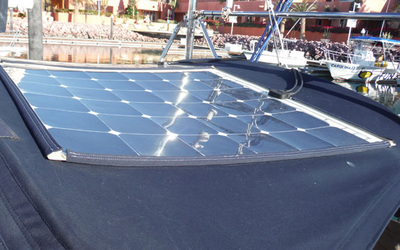
Our bimini is not that large, and trying to find panels that would fit was a real challenge. I wanted at least 200 watts up there and I kept running into dead ends. I could build a frame that would extend past the bimini, but it would be more weight and complexity than I really wanted. I decided to go with light weight panels like the other ones, but size was the problem. I couldn’t find panels that would fit the space that I had without elaborate and heavy framing. Finally, I found the Solbian 112 watt square panels. Unfortunately, these were also really expensive because they don’t sell many. Solbian sells bigger, more powerful panels for much less, however, I was stuck with my space limitations.
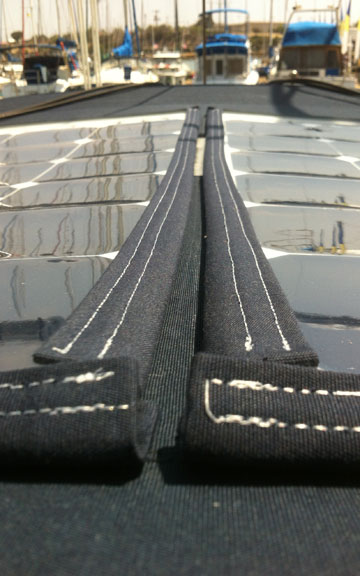
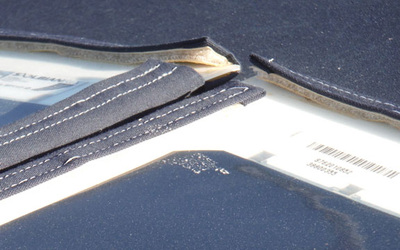
On the plus side, they weigh only 3 lbs apiece, adding almost nothing to the weight of the bimini frame. To mount them, I used adhesive backed Velcro on the panels and then sewed Velcro flaps onto my bimini to hold them down. This worked really well, at first. Most people don’t notice the panels unless I point them out. However, the adhesive on the Velcro started to peel up and now I need to try and epoxy the Velcro strips to the panel. As an aside, I met another cruising boat that did almost the same installation but sewed the Velcro directly to the panel and it has worked out really well. Apparently, the sewing machine has no issues going through the plastic backing material of the panels, and is the recommended method by Solbian. I would double check that before proceeding with any installation. Now that I’m without a sewing machine, I am contemplating how to fix it properly.
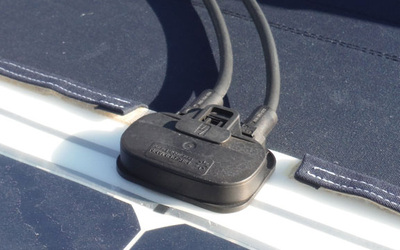
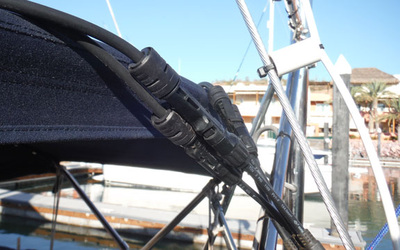
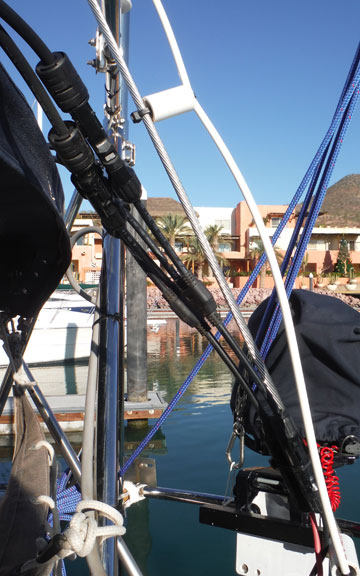
The panels come prewired with MC4 connectors, which I connected to two Y splitters, found on Amazon.com. I connected them in parallel and then through the radar pole before going to another charge controller. The Blue Sky 3024 is not quite big enough to handle all the solar that I have so I bought a Blue Sky 2512. As I mentioned before, I like redundancy. For this reason I decided on two smaller controllers, vice one large controller. If the charge controller fails, you have no way to use the solar power from your panels since most panels output 17-20 volts and would quickly fry your batteries. But, this higher output allows the MPPT controllers to squeeze more amperage out of your panels as it throttles down the voltage to 12-14 volts. So, I wanted more than one controller as a backup, but I didn’t want them to compete with each other. Blue Sky controllers allow me to network them together and act as one controller, but they can work independently if one fails (I can’t use all the panels with one controller, but half would still be working). As a result, the bimini panels are wired to a circuit breaker and then to the 2512 controller located next to the 3024 in the quarter berth.
December 2014 - After using the solar in Mexico for 2 months:
In theory, I should be able to get 20+ amps from my 424 watts of solar. However, I have never seen more than 18 (and rarely at that), due (I think) to the panels orientation and the fact, that rarely are all panels free from shade. Between the boom, mast, sails, rigging, radar and wind generator something is always throwing a shadow on at least one panel. Still, this setup has worked out really well, and most days I am fully charged at noon or soon after.
In theory, I should be able to get 20+ amps from my 424 watts of solar. However, I have never seen more than 18 (and rarely at that), due (I think) to the panels orientation and the fact, that rarely are all panels free from shade. Between the boom, mast, sails, rigging, radar and wind generator something is always throwing a shadow on at least one panel. Still, this setup has worked out really well, and most days I am fully charged at noon or soon after.

