SEPT 2014
New chainplates and standing rigging – Sept
2014.
Indigo’s rigging looked good but was 20 years old. It was time to replace it. I also wanted to replace the chain plates since I was at it. I ordered a set from Pacific Seacraft and ordered all the rigging through RiggingOnly.com.
When I replaced my furlers the year before, I upsized my rigging and wanted to do the same for the rest. One rigger suggested I upsize the uppers and stay smaller on the lowers to save weight, but I didn’t want to have multiple size spares on board and opted to go all one size larger to 9/32”.
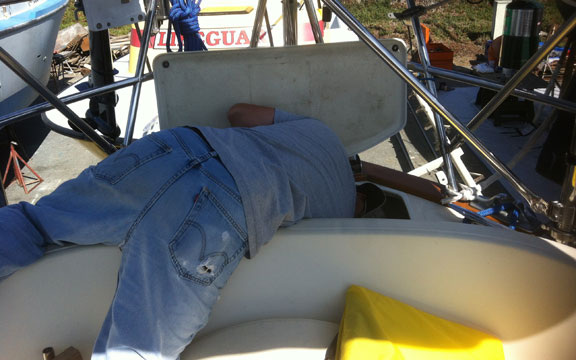
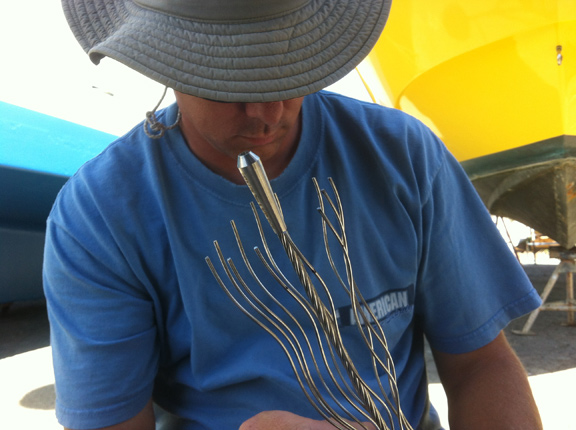
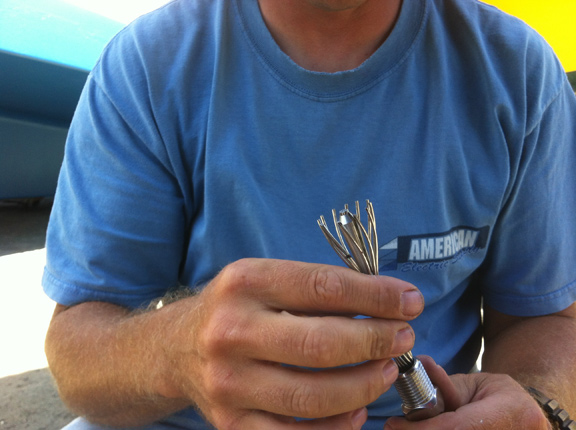
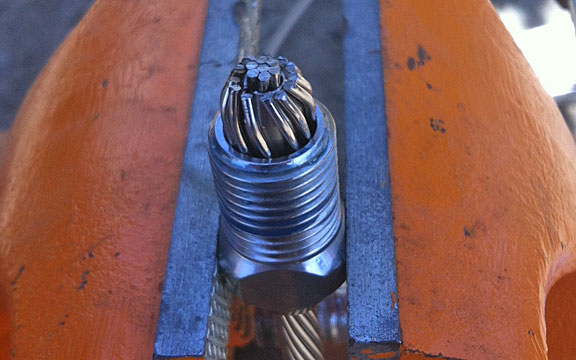
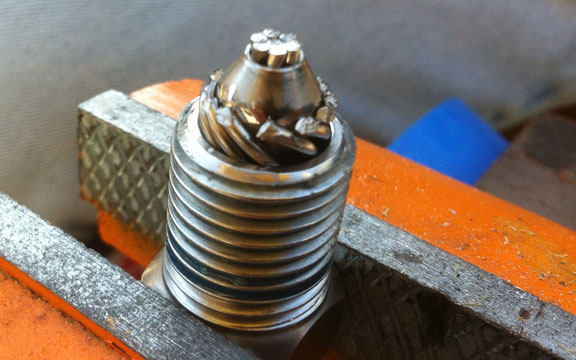
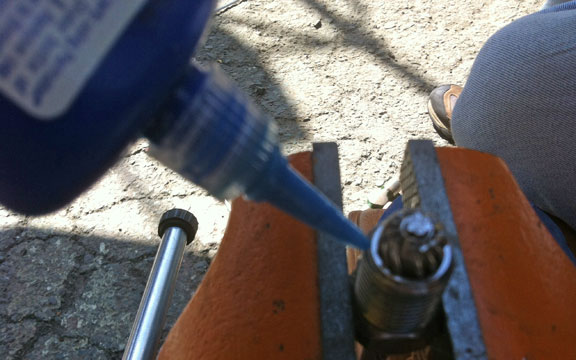
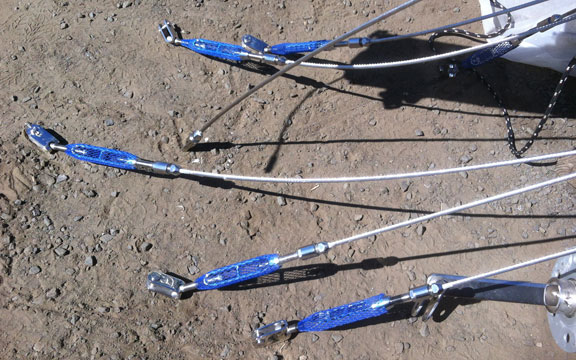
Since I used Sta-Loks on the forward stays, I stayed with them for the rest of the rigging. Since I had to fix some corrosion on the mast I decided to pull the boat and the mast. This made the job pretty straight forward. I laid out the old rigging, to get the proper length, fastened the top Sta-Lok fitting, laid it out next to the old one, cut for length and fastened the bottom fitting. Repeat.
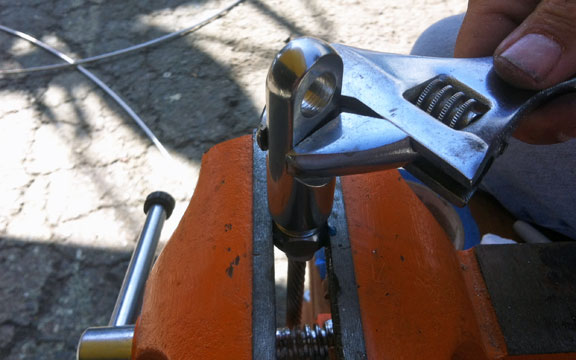
I found it was easy to over tighten the fitting when assembling which will bend over the individual wires past the cone. I didn’t realize what the problem was until I fouled up a couple (expensive mistake) and figured out what I was doing wrong. DO NOT over tighten.
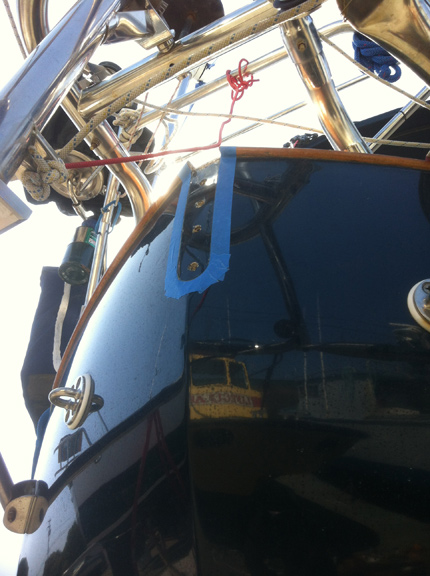
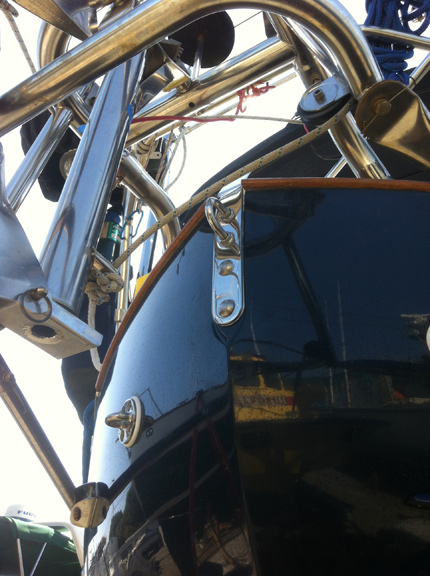
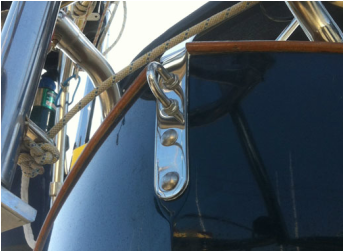
For the chain plates, I started with the uppers, since they take the highest stress and were the easiest to replace. After pulling them off, I inspected them and found no visible cracks or stresses. However, stainless can lose up to 50% of its strength without showing any signs of fatigue. Repetitive cyclic loading is one of the worst stresses materials can experience, and rigging is constantly being loaded and unloaded. So even though the old chain plates looked good, I decided to switch them out anyway.
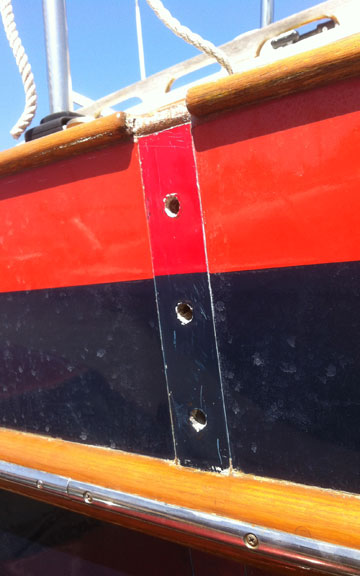
That being said, when it came time for the lowers, I found that I was going to have to do some demolition to get to the inside bolts. Since the uppers showed no visible signs, I decided to leave the lowers alone. They take a bit less stress, and the rig shouldn’t come down instantly if one breaks. At least that is what I tell myself.
Indigo’s rigging looked good but was 20 years old. It was time to replace it. I also wanted to replace the chain plates since I was at it. I ordered a set from Pacific Seacraft and ordered all the rigging through RiggingOnly.com.
When I replaced my furlers the year before, I upsized my rigging and wanted to do the same for the rest. One rigger suggested I upsize the uppers and stay smaller on the lowers to save weight, but I didn’t want to have multiple size spares on board and opted to go all one size larger to 9/32”.
Since I used Sta-Loks on the forward stays, I stayed with them for the rest of the rigging. Since I had to fix some corrosion on the mast I decided to pull the boat and the mast. This made the job pretty straight forward. I laid out the old rigging, to get the proper length, fastened the top Sta-Lok fitting, laid it out next to the old one, cut for length and fastened the bottom fitting. Repeat.
I found it was easy to over tighten the fitting when assembling which will bend over the individual wires past the cone. I didn’t realize what the problem was until I fouled up a couple (expensive mistake) and figured out what I was doing wrong. DO NOT over tighten.
For the chain plates, I started with the uppers, since they take the highest stress and were the easiest to replace. After pulling them off, I inspected them and found no visible cracks or stresses. However, stainless can lose up to 50% of its strength without showing any signs of fatigue. Repetitive cyclic loading is one of the worst stresses materials can experience, and rigging is constantly being loaded and unloaded. So even though the old chain plates looked good, I decided to switch them out anyway.
That being said, when it came time for the lowers, I found that I was going to have to do some demolition to get to the inside bolts. Since the uppers showed no visible signs, I decided to leave the lowers alone. They take a bit less stress, and the rig shouldn’t come down instantly if one breaks. At least that is what I tell myself.